Appointment Reminders (2 minute video)
FollowVIDEO – How to Batch Upload Text Message Appointment Reminders via CSV File (Video = 2 Minutes)
- Ensure participants show up for their visits through text message appointment reminders.
- The system asks for a confirmation that the participant plans on attending (via Y/Yes or N/No response).
- When a participant responds Y/Yes, they are sent a customizable message with information about the Site/Clinic.
- When a participant responds N/No, they are sent a different customizable message (a call to action to reschedule).
- The Mosio system also sends an email notification to study staff to let them know so they can reschedule the appointment quickly and ensure they make their visit window.
- Mosio’s Form Field technology enables you to inject custom information into the appointment message such as names, study details, etc.
Appointment Reminders
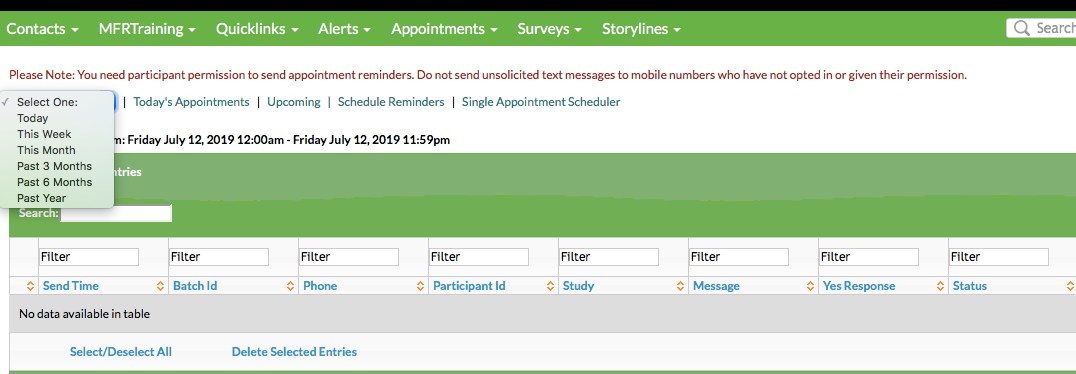
Selecting Appointments from the top navigation menu takes you to an overview of your scheduled appointment reminders.
Reminders can be scheduled either individually or as a batch via CSV upload.
CSV Upload
Select Schedule Reminders from the overview page.

Fig 1: Appointment reminder overview
CSV File should contain the following columns, with a header row (specified in bold):
Firstname
Date - Date of Appointment. Ex: 8/22/2013
Time - Time of Appointment. Ex: 10:15, 15:30
Phone - Phone number
Participant Id - Participant Id

Fig 2: Sample csv
Choose when you want the reminders to be sent and specify a time.

Fig 3: Schedule Appointments; csv upload
The default Reminder Message was confirmed during onboarding, but can be edited for each batch upload if required. If you would like to make a global change to the default message, please contact Mosio support.
The Confirmation Text is the message sent when participants respond Y to the reminder message, confirming the appointment. Select either the default Y response or enter a new custom Y response to be sent to the batch.
Choose File to upload CSV and Schedule Appointments.
Individual Appointment Reminders
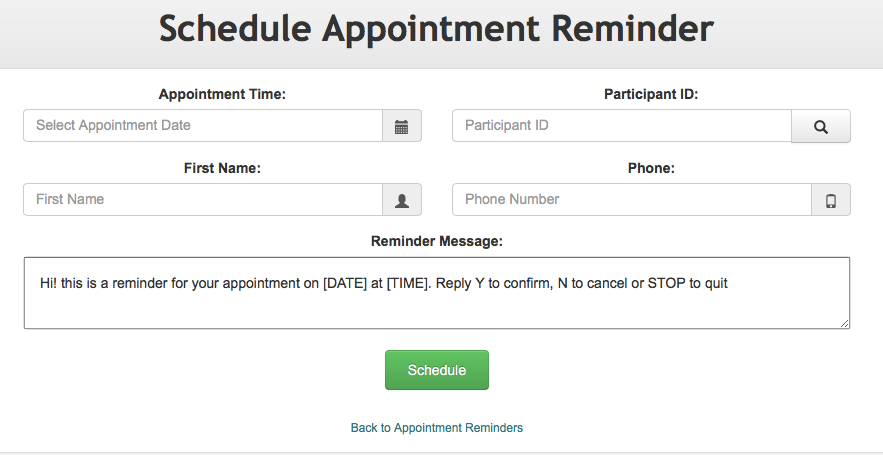
Select Single Appointment Scheduler from the overview page

Fig 4: Schedule Appointments; individual
Enter participant details in the allocated fields to schedule the individual reminder
If the participant is already in the contact list, enter the participant ID and select the search icon, and the phone number will auto populate.
Select the appointment date and the appointment time.
The Reminder Message is the default message which was confirmed during onboarding and can be edited for each scheduled reminder if necessary. The name, date and time will be added automatically.
Select Schedule and the details will appear in the overview list.
Send Time is the date and time that the reminder is scheduled to go out. The default is 1 day before the appointment at 8am local time.
Status shows as:
- Upcoming when the reminder has been scheduled.
- Reminder Sent when the reminder has gone out.
- Follow up Reminder Sent when no response has been received from the participant and the 6 hour follow up message has been sent.
- Confirmed when participant responds Y.
- Canceled when participant responds N and notification sent to the admin email.
Status Date is the date of the latest status of this participant’s appointment reminder.
Edit Appointment Reminders
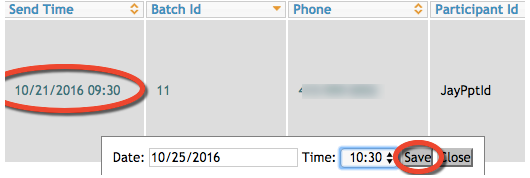
The Send Time, Message and Y Response can be amended before the reminder is sent, simply click on the field to make the change and save.

Fig 5: Edit appointment reminder