How to Create Project Variables (and Create Contact List Columns)
FollowMosio's Project Variables enable you to do 3 things:
- Create quick visual reference points throughout the software dashboard interface.
System Only (do not display): No - Add custom content to your text messages.
-
Map parameters to your Contacts Uploader CSV
- Note: If you are uploading a CSV from an external system into your Contacts List (or Storylines), you need to create a Project Variable for each custom column.
- The System Name must match the header row name in your CSV for things to properly map.
See also: Create a language variable to learn how to setup multi-language support.
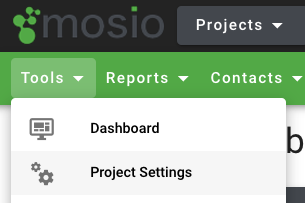
Go to Tools > Project Settings in the Navigation

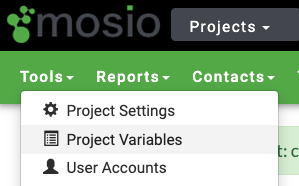
Go to Tools > Project Variables in the Navigation

Click Add Field to open the Field Editor
Then:
- Type a System Name
- Type a Friendly Name
- Choose "NO" if you want the Project Variable to be displayed in the Pages Interfaces
- Select which pages you where you want the Project Variables to show (and who on your team can see them)
- Click Save
Check your work...
In Storylines you'll see the Project Variable as a field (the Friendly Name will be shown)...
You'll also see it in the Contacts Uploader (CSV Batch Contact Upload) as a required field for header rows. The System Name will be shown (and that's how it should look in your CSV header).
Note: If you are adding participants to Storylines via CSV file: You'll need the System Name in the CSV header row as well.
Sending Custom URLs from Third Parties (REDCap, Qualtrics, etc) through Storylines
If you are importing participant info from a third party and want to send unique URLS, Custom URLS, or Personal Links (Qualtrics) through Mosio Storylines, you'll need to make a Project Variable for that header row.
If your project has multiple surveys from that third party, no problem! Create a Project Variable for each survey in that system with a System Name that matches the header row.QuatlricsSurvey1QualtricsSurvey2QualtricsSurvey3